-
Back office guide
-
Login
-
Reset password
-
Home page
-
Users page
-
Employees page
-
Contracted customers page
-
Not contracted customers page
-
Add ticket form
-
Update ticket
-
Assign ticket page
-
Review ticket page
-
Audit ticket page
-
Close ticket page
-
Add sub product file page
-
Sub product file edit page
-
Add service records page
-
Waiting approval
-
Add service contract
-
Review and edit service contract
-
Response behavior template page
-
Audit ticket page
-
-
Back office guide - Declarations
-
Option-Declaration page
-
Option-General options-Employee department
-
Option-General option-Customer category
-
Options-General options-Unresolved ticket reasons
-
Options-General options-Telephone ip
-
Options-Location control-Area
-
Options-Location control-Sub area
-
Options-Location control-Zone
-
Options-Access level-System platform
-
Option-Access level-Role
-
Options-Access level-Add resources
-
Options-Access level-Permissions
-
Options-Product-Product category
-
Options-Product-Sub products
-
Options-Product-Contents
-
Options-Product-Parts
-
Options-Auto assign ticket
-
Options-Import file-Product category
-
Options-Import file-Sub products
-
Options-Import file-Customers
-
Option-Import file-Contents
-
Option-Import file-Parts
-
-
-
Mobile app - Service engineer
-
Chat page
-
Open service record signature page
-
Add approval request
-
Approval requests page
-
Not solved service record page
-
Open service record page
-
Accepted ticket page
-
Review ticket page
-
New ticket notification
-
Assigned tickets page
-
Dashboard page
-
Start page
-
Profile page
-
Change fonts page
-
Change color page
-
Change password page
-
Change email page
-
Settings page
-
Sign up page
-
Home page
-
Login page
-
Options-Product-Parts
Estimated reading time:

This is the parts page where the admin identifies the parts of the sub-products, each one of these parts has a part number, description, and a price and it must relate to a sub-product.
This page will contain the followings:
- Product category drop down list: this drop down list contains all pre-entered product categories, and selecting a category from it will filter the sub product drop down list..
- Sub-product drop down list: this list will contain the sub products for the pre-selected product category, and by selecting a sub-product the parts list will be filtered and only views that sub-product parts.
- Parts search bar: here the admin can search between the parts for a specific part, after entering the description of the part the admin can press "go" button to start the searching, and the result will be shown in the list under.
- Parts list view: this list will contain the filtered or the searched for parts and their information.
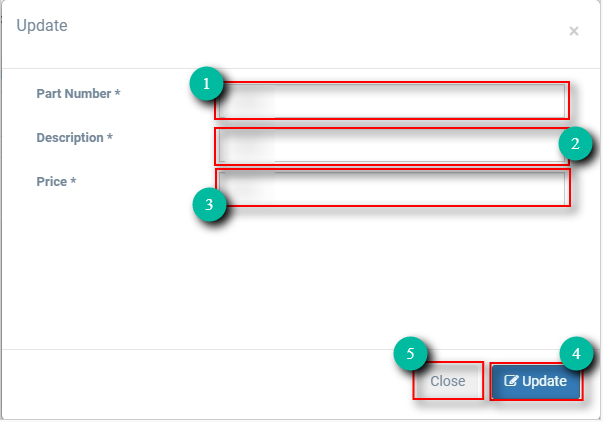
- Edit button: this edit button is used to edit the part information, after clicking it a pop-up will appear that contains the following:
- Part number field: the admin can change the part number using this field.
- Description field: the admin can change the description of the part from this field.
- Price field: the admin can edit the price of the part using this field.
- Update button: this button is to confirm the changes made on the part information.
- Close button: this button the pop-up without making any changes on the part information.
- Used in button: this button will open up a pop-up to show the where this part is used at from the sub products, and this pop-up will contain the followings:
- Selected part information form: this form will contain the selected part information as read only.
- Sub products list: this list will contain the selected part's sub products, and the sub product files for that sub products.
- Sub product file button: this button will open up a list with all sub products files that this parts was used on.

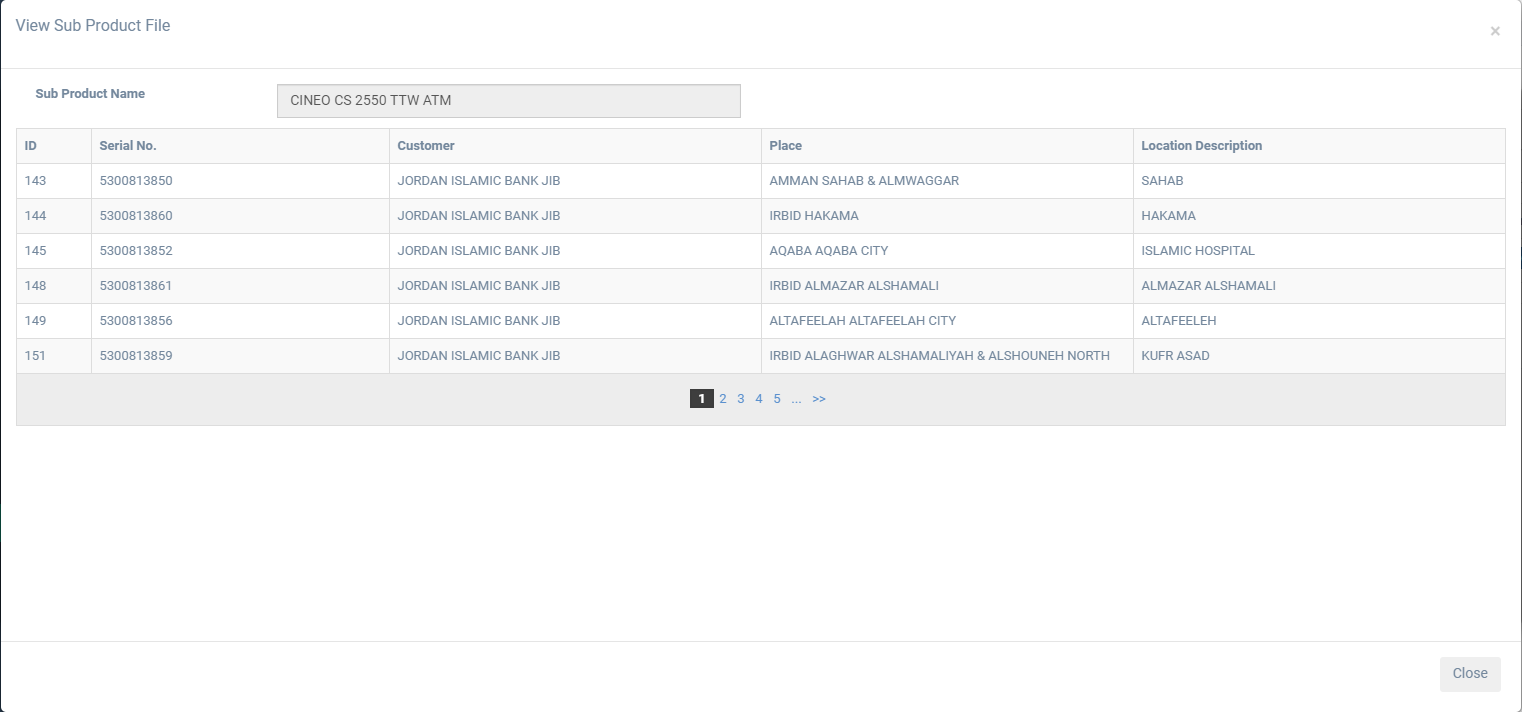
- Close button: this button closes the pop-up form.
- Delete button: this button is used to remove the part from the database, this feature will not work unless the part was not used in other places.

- Pages numbering: these numbers are to go through the selected sub product parts pages.
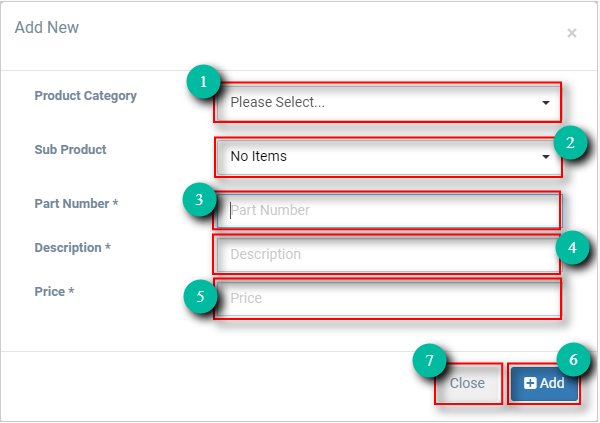
- Add button: this button is to add a new part to a sub product,, after clicking this button a pop-up will be displayed and it will contain the following:
- Product category drop down list: this list will contain the products category, selecting this product category from the list will filter the sub products of the sub products list.
- Sub product list: this list will contain the sub products of the selected product category, the new added part will be related to that sub product selected.
- Part number field: the user enters the new part number i this field.
- Description text field: this field will contain the new part's description.
- Price field: this field will contain the new part price.
- Add button: this button is used to confirm adding the new part, and there will be a validation on the data to check if all required information are entered.
- Close button: this button closes the add pop-up and cancels the request.
Last update: 02/07/2021
Views: 433
In this page: