Import assets
Estimated reading time:
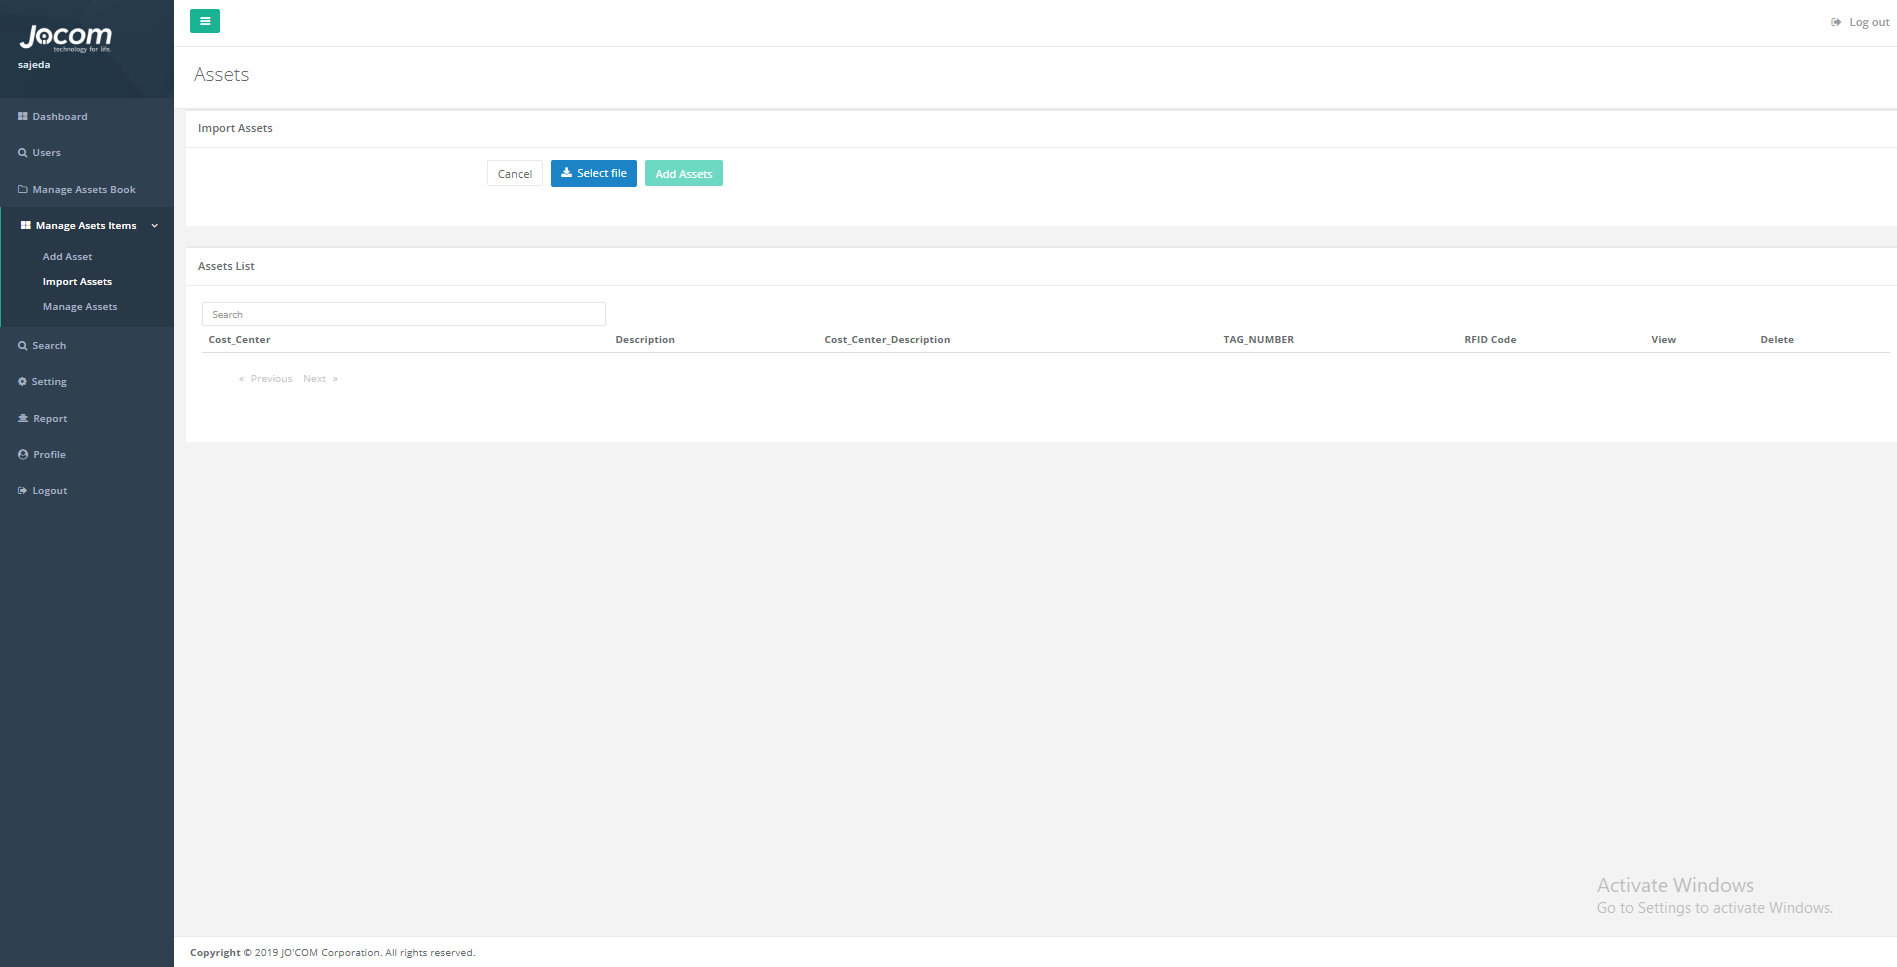
In this page the admin can import the assets files and view them before inserting them to the database, the assets will be inserted to the last active copy in the database, this assets will be validated before the insertion to insure that it is correct, unique, and does not miss any of the required data from its records, the file that will be imported needs to be an excel file, and the columns of it must be in the same correct order as it is in the database; so that its read correctly and in the correct order.
This page will mainly contain the followings:
1. Select file button: this button is to select the excel file that contain the assets items information, the assets in the selected file will be displayed in a list view for the admin to see them before confirming them.
2. Add assets button: the admin clicks this button after reviewing the assets from the list, and it’s for confirming on the importation of the assets, after pressing the button the assets will be validated and will either be verified or rejected and prompts and error message if they didn’t meet our asset validation criteria.
3. Cancel button: this button is to cancel the importation of the file and it will return the user to the main menu page.
4. Assets list view: this list is where the assets is imported to view, here the admin can view the assets and their information before adding them to the active book.